There is no hard fast rule as to what you should use to carry your 72 hour kit. Almost any container will work. Some are better than others. Here are a few things you will want to take into consideration for your 72 hour kit.
Which container to choose?
Most 72 hour kits are stored in either a backpack, a bag, or a bucket. Here are the advantages and disadvantages of each:
Bag
You can use a bag, such as a duffel bag or a carry-on style of luggage often seen on airplanes. The advantages are that you can repurpose bags that you already have in your home, emptying them only when you need them for a trip. The disadvantage of this style is portability. Lugging a duffle bag can become tiresome. And while carry-on luggage may have wheels, you never know when you might run into an uneven surface where the wheels may not work.
Bucket
Many people use 5 gallon buckets, such as what food storage may be stored in. The advantages of the bucket is that it can hold most everything you need, seal nicely against the weather, and work well as a seat when you get tired of carrying them. The main disadvantage of buckets is they are a pain in the neck to carry. They might work nicely for girls camp or car camping, but they are not at all practical for an evacuation.
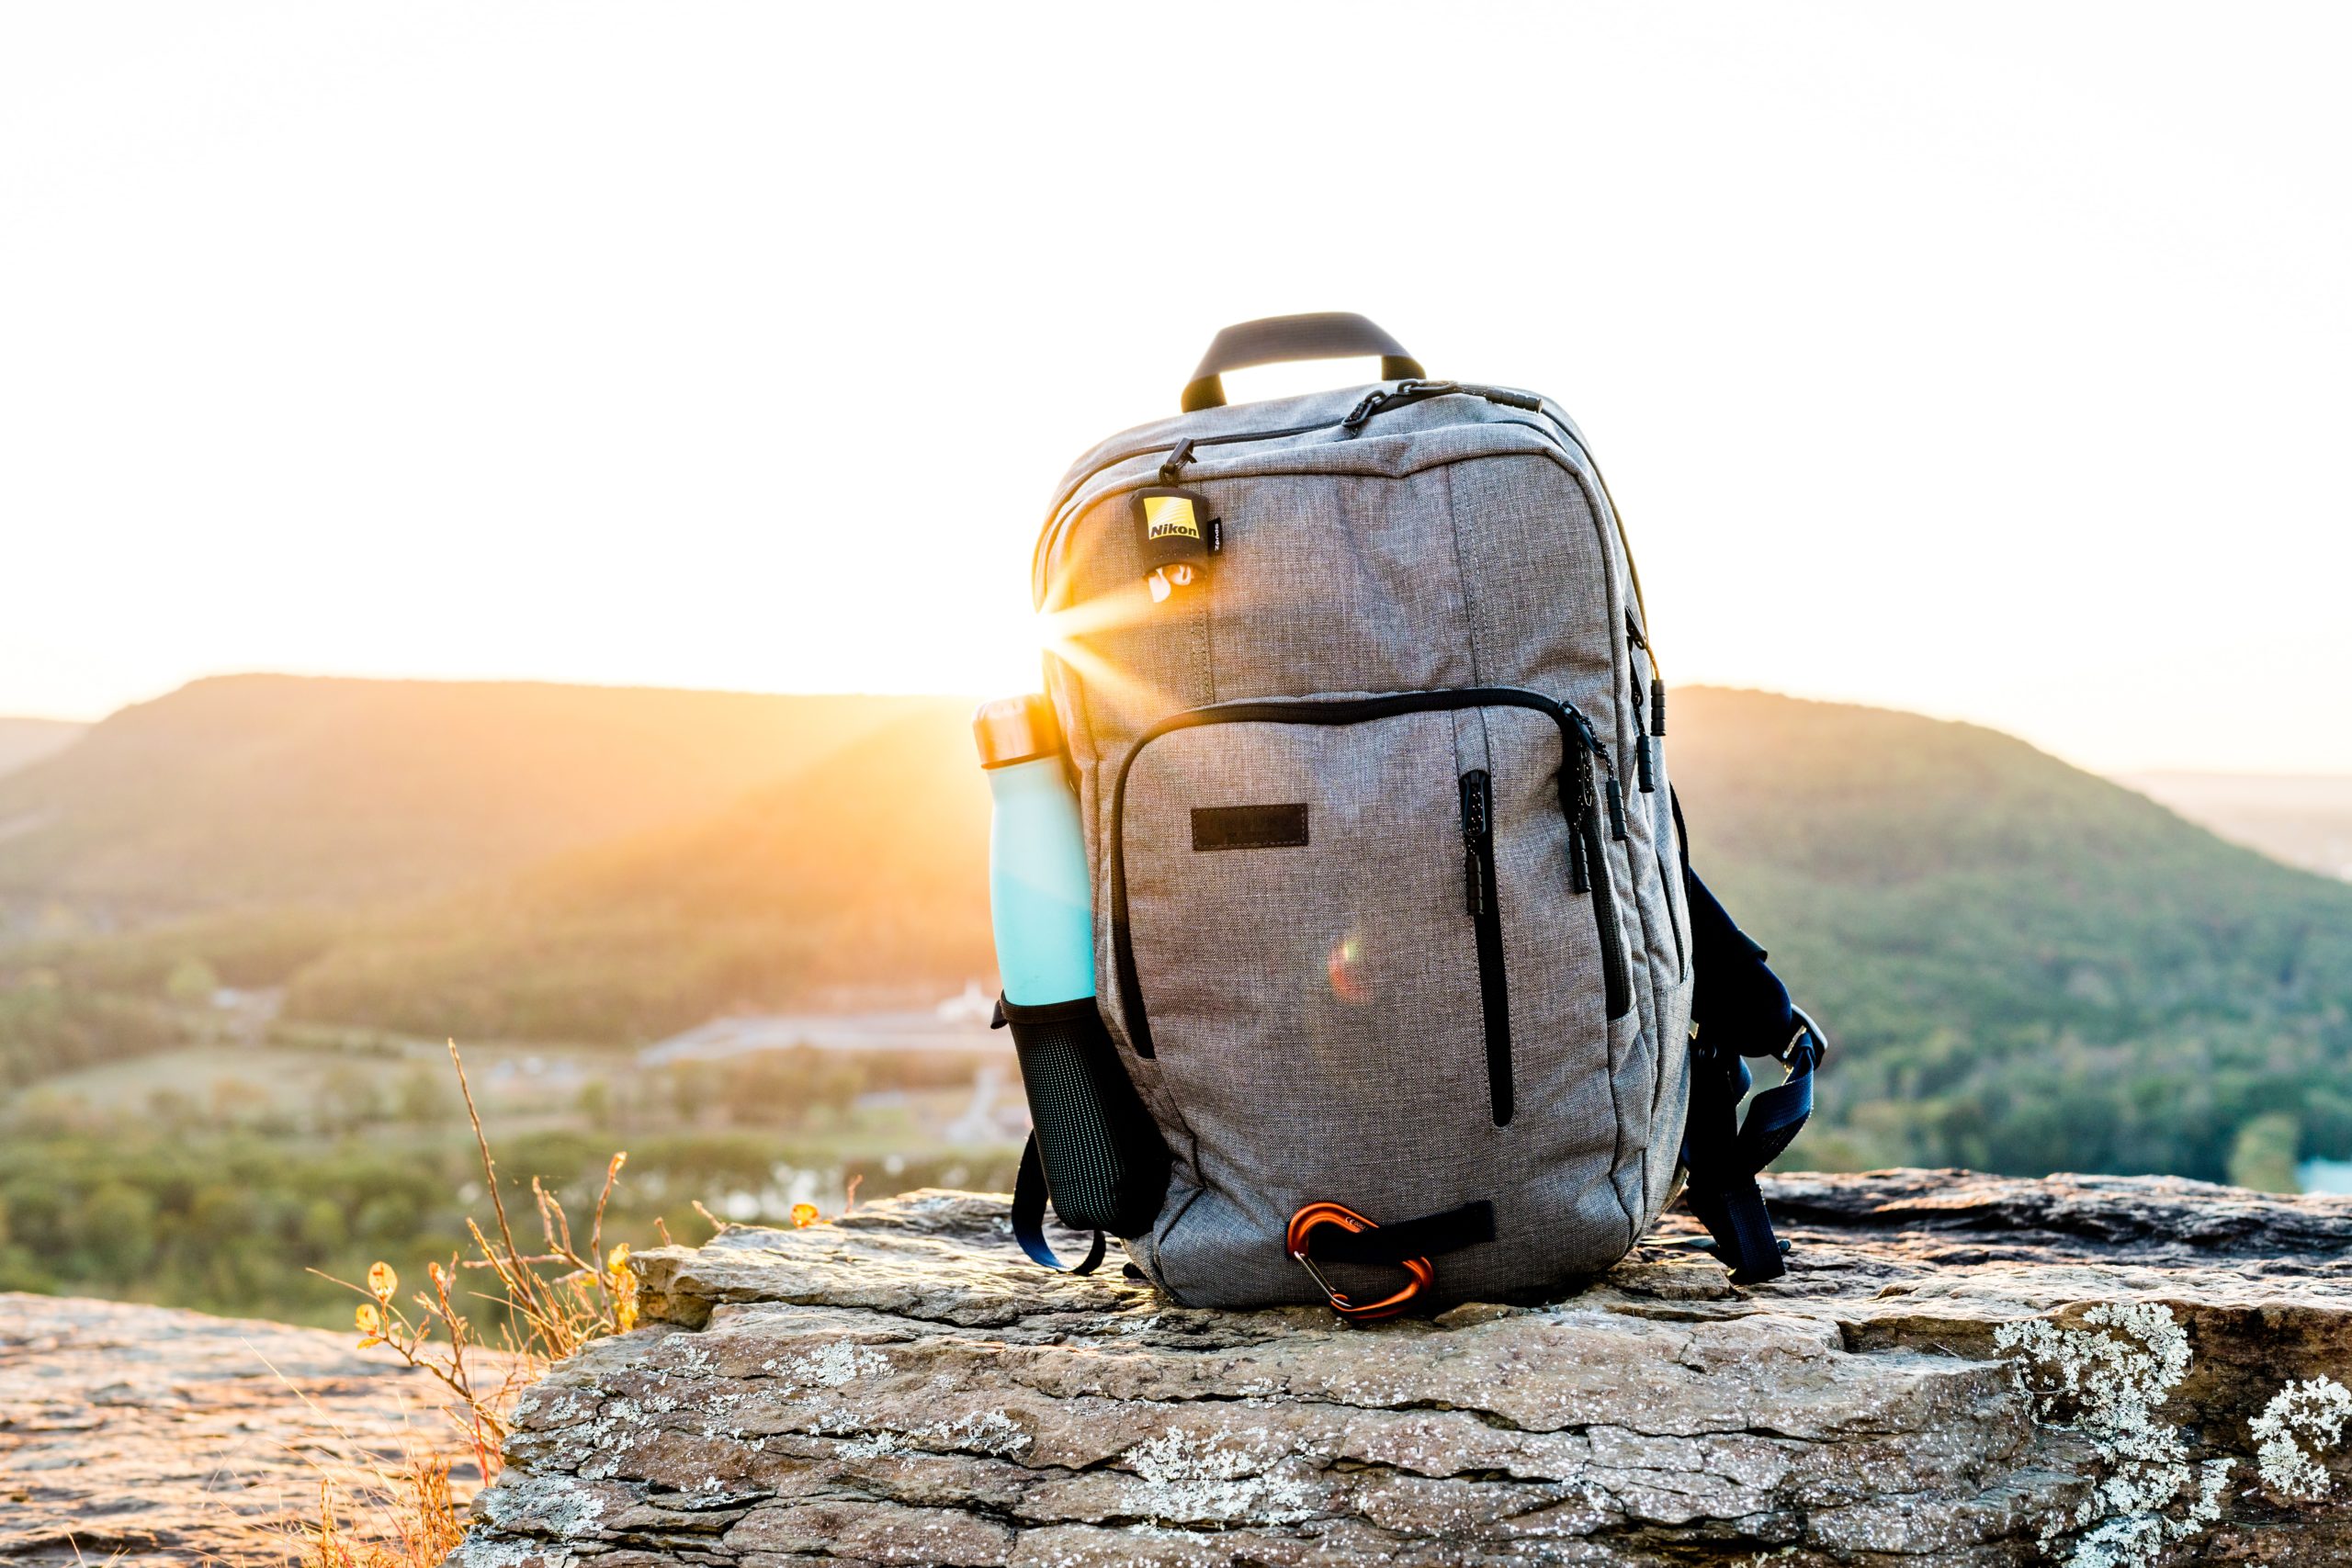
Backpack
Our favorite container is a backpack. That’s because they are generally the most versatile and convenient way to transport a 72 hour kit. They can hold a lot, are easier to carry over a long distance, and often have lots of pockets to keep things organized. The disadvantage of backpacks is that they are not waterproof. You’ll need to pack your items in waterproof bags in a backpack.
Size
Size of the bag is the next consideration. First off, it must be large enough to hold everything you need to carry but small enough that you can grab it and carry it with you on the run. This is extra important to consider when you have small children. A child dragging a large bucket with their kit inside is not going to last very long. You will be forced to leave the backup behind or get someone else to carry extra. In most cases, every family member will have their hands full, so it is wise to pack a small backpack for small children and pack only enough in it that they can carry. This means you may be placing some of their items in another person’s kit.
Weight
The lighter the bag for a 72 hour kit the better. Depending on the emergency, you might be walking some distance. For example, when backpacking, a loaded backpack should not weigh more than 20% of the person’s body weight.
Expense
You don’t need to spend a lot of money on an expensive high-end backpack. We recycled old school backpacks for a number of years. The important thing is that it holds the items that you need in your kit. A small inexpensive bag will hold just as much as the high end expensive one. Start small and work your way up over time. Unless you see a need, save the money for something else.
Security
If you’re in a natural disaster, you and your family may be forced to evacuate and you end up in a shelter. Everything you own now fits inside your 72 hour kit. You are now sharing a shelter with 500 strangers, as you are all living in the same school gym. You may wish for some sort of lock on your bag, as the only secure storage is sliding it under your cot and covering it with a blanket. I have spent a lot of nights in shelters across the country. Problems are rare but they can happen. If your bag has a lock, it wards off temptation.
Packing
When you pack your kit, think of those things that you will need most often and pack them on top. This is a lot like camping or living out of a suitcase at a hotel. You do not want to have to unpack each day just to find your medication or other commonly used item. Pack the heavy stuff and the items you will not need until later first.
Test
Once you have your kit, you should test it. This does not have to be a big event. Take a long weekend and try to live out of your kit for 72 hours. Make a list of what is missing. Each person, each family will have a kit that is specific to them. I can’t tell you what you might want in your kit. No one can. I can give you a basic outline but what you need is really based on you. After our first test run, all my children decided that a few card games were an absolute necessity.
Refresh
Last of all, put on your calendar now a plan to check and refresh your kit on a regular schedule. Being members of The Church of Jesus Christ of Latter Day Saints, we have discovered a plan that works for us. Every six months the church has a conference broadcast on TV. In between the Saturday televised sessions, we grab our kits, unpack them, check for expired items, swap out the batteries, make sure the clothing still fits, and give the kit a general freshen up. This takes less than an hour. The kids get to eat all the candy and food that is swapped out. Should something happen, we will not be stuck in shirts three sizes too small.
The bag is a simple thing. You can spend a lot of money or you can keep it within budget. The important thing is to place the items in the kit and have the kits in a designated location where you can get to them quickly in an emergency. We store ours on shelves in the garage, assuming our first choice will be to make our escape in the car. Just make sure everyone knows where they are and that they can all be gathered on the run. Practice with them a few times, then pray you never have to use them for real.